
As I put the computer into the case, it is quite annoying to reconnect the modules that we want to use every time. So I decided to make a board that connects every modules including the computer main board aka bus connection hub, and from this hub we can enable/disable the module that we want by the jumper selector. In order to make this happen, I have to remake all the connections wire, and make a length of ribbon cable to route around the case.
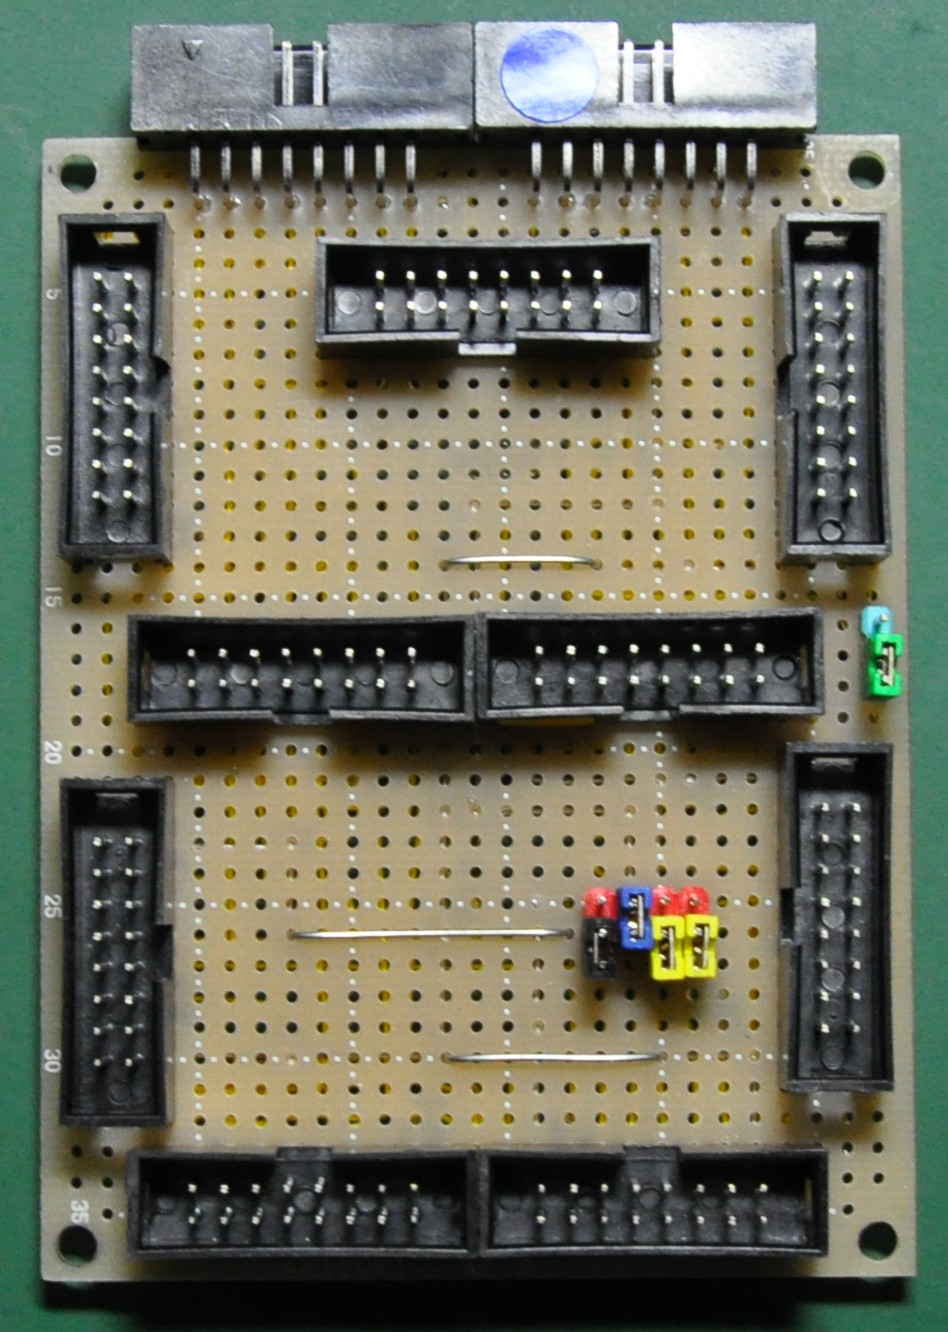
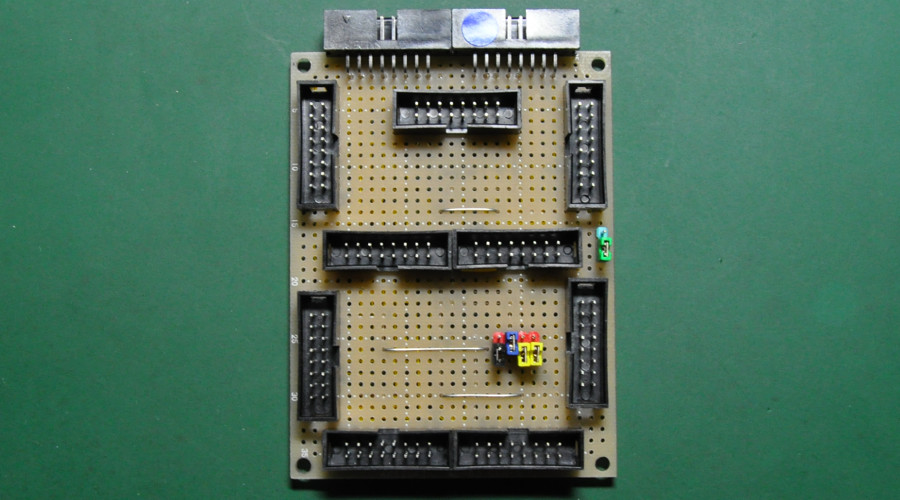
Here is the bus hub that I have wired on a protoboard. After finished soldering, I realized that it will be better to put a dip switch rather than jumper slot. It is a little bit difficult to set on/off with the jumpers. And I also plan to put a reset switch on this bus hub as the original computer board need to pull the dip switch on/off for the computer to reset, that’s also an annoying process, every time we want to reset when debugging something especially debugging bios for running CP/M.
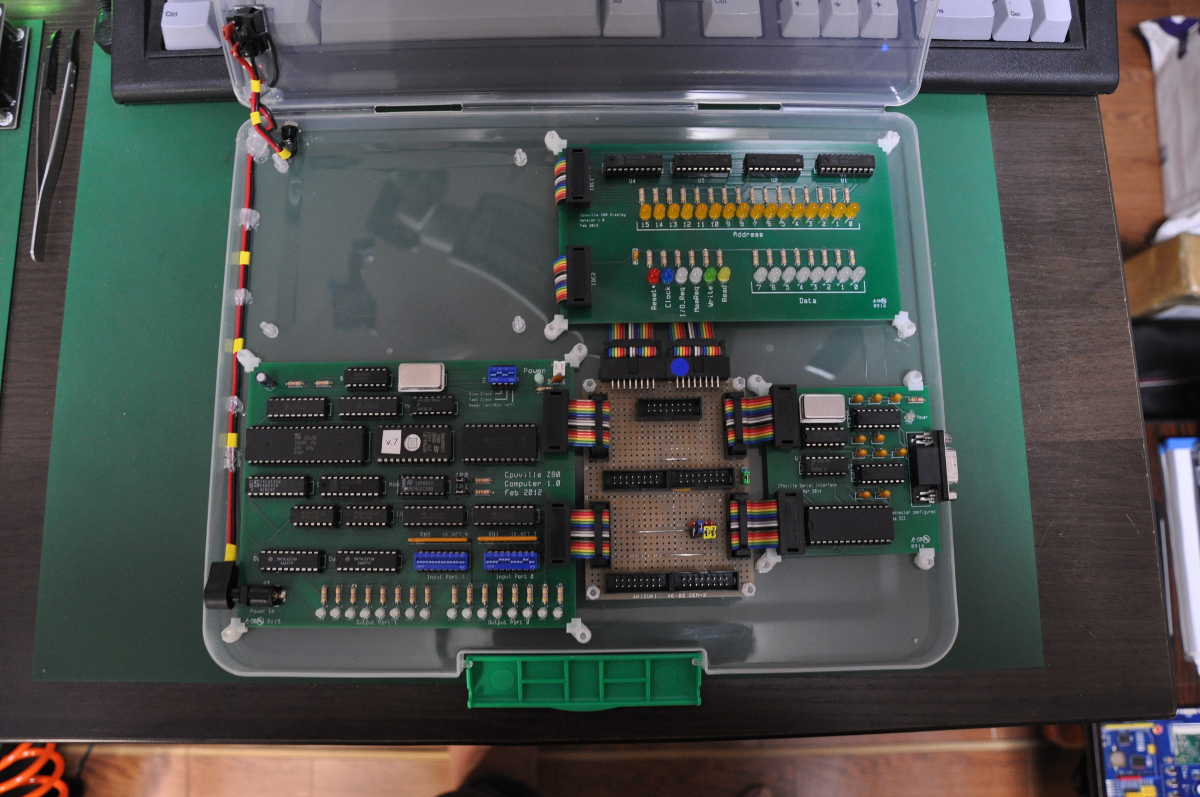
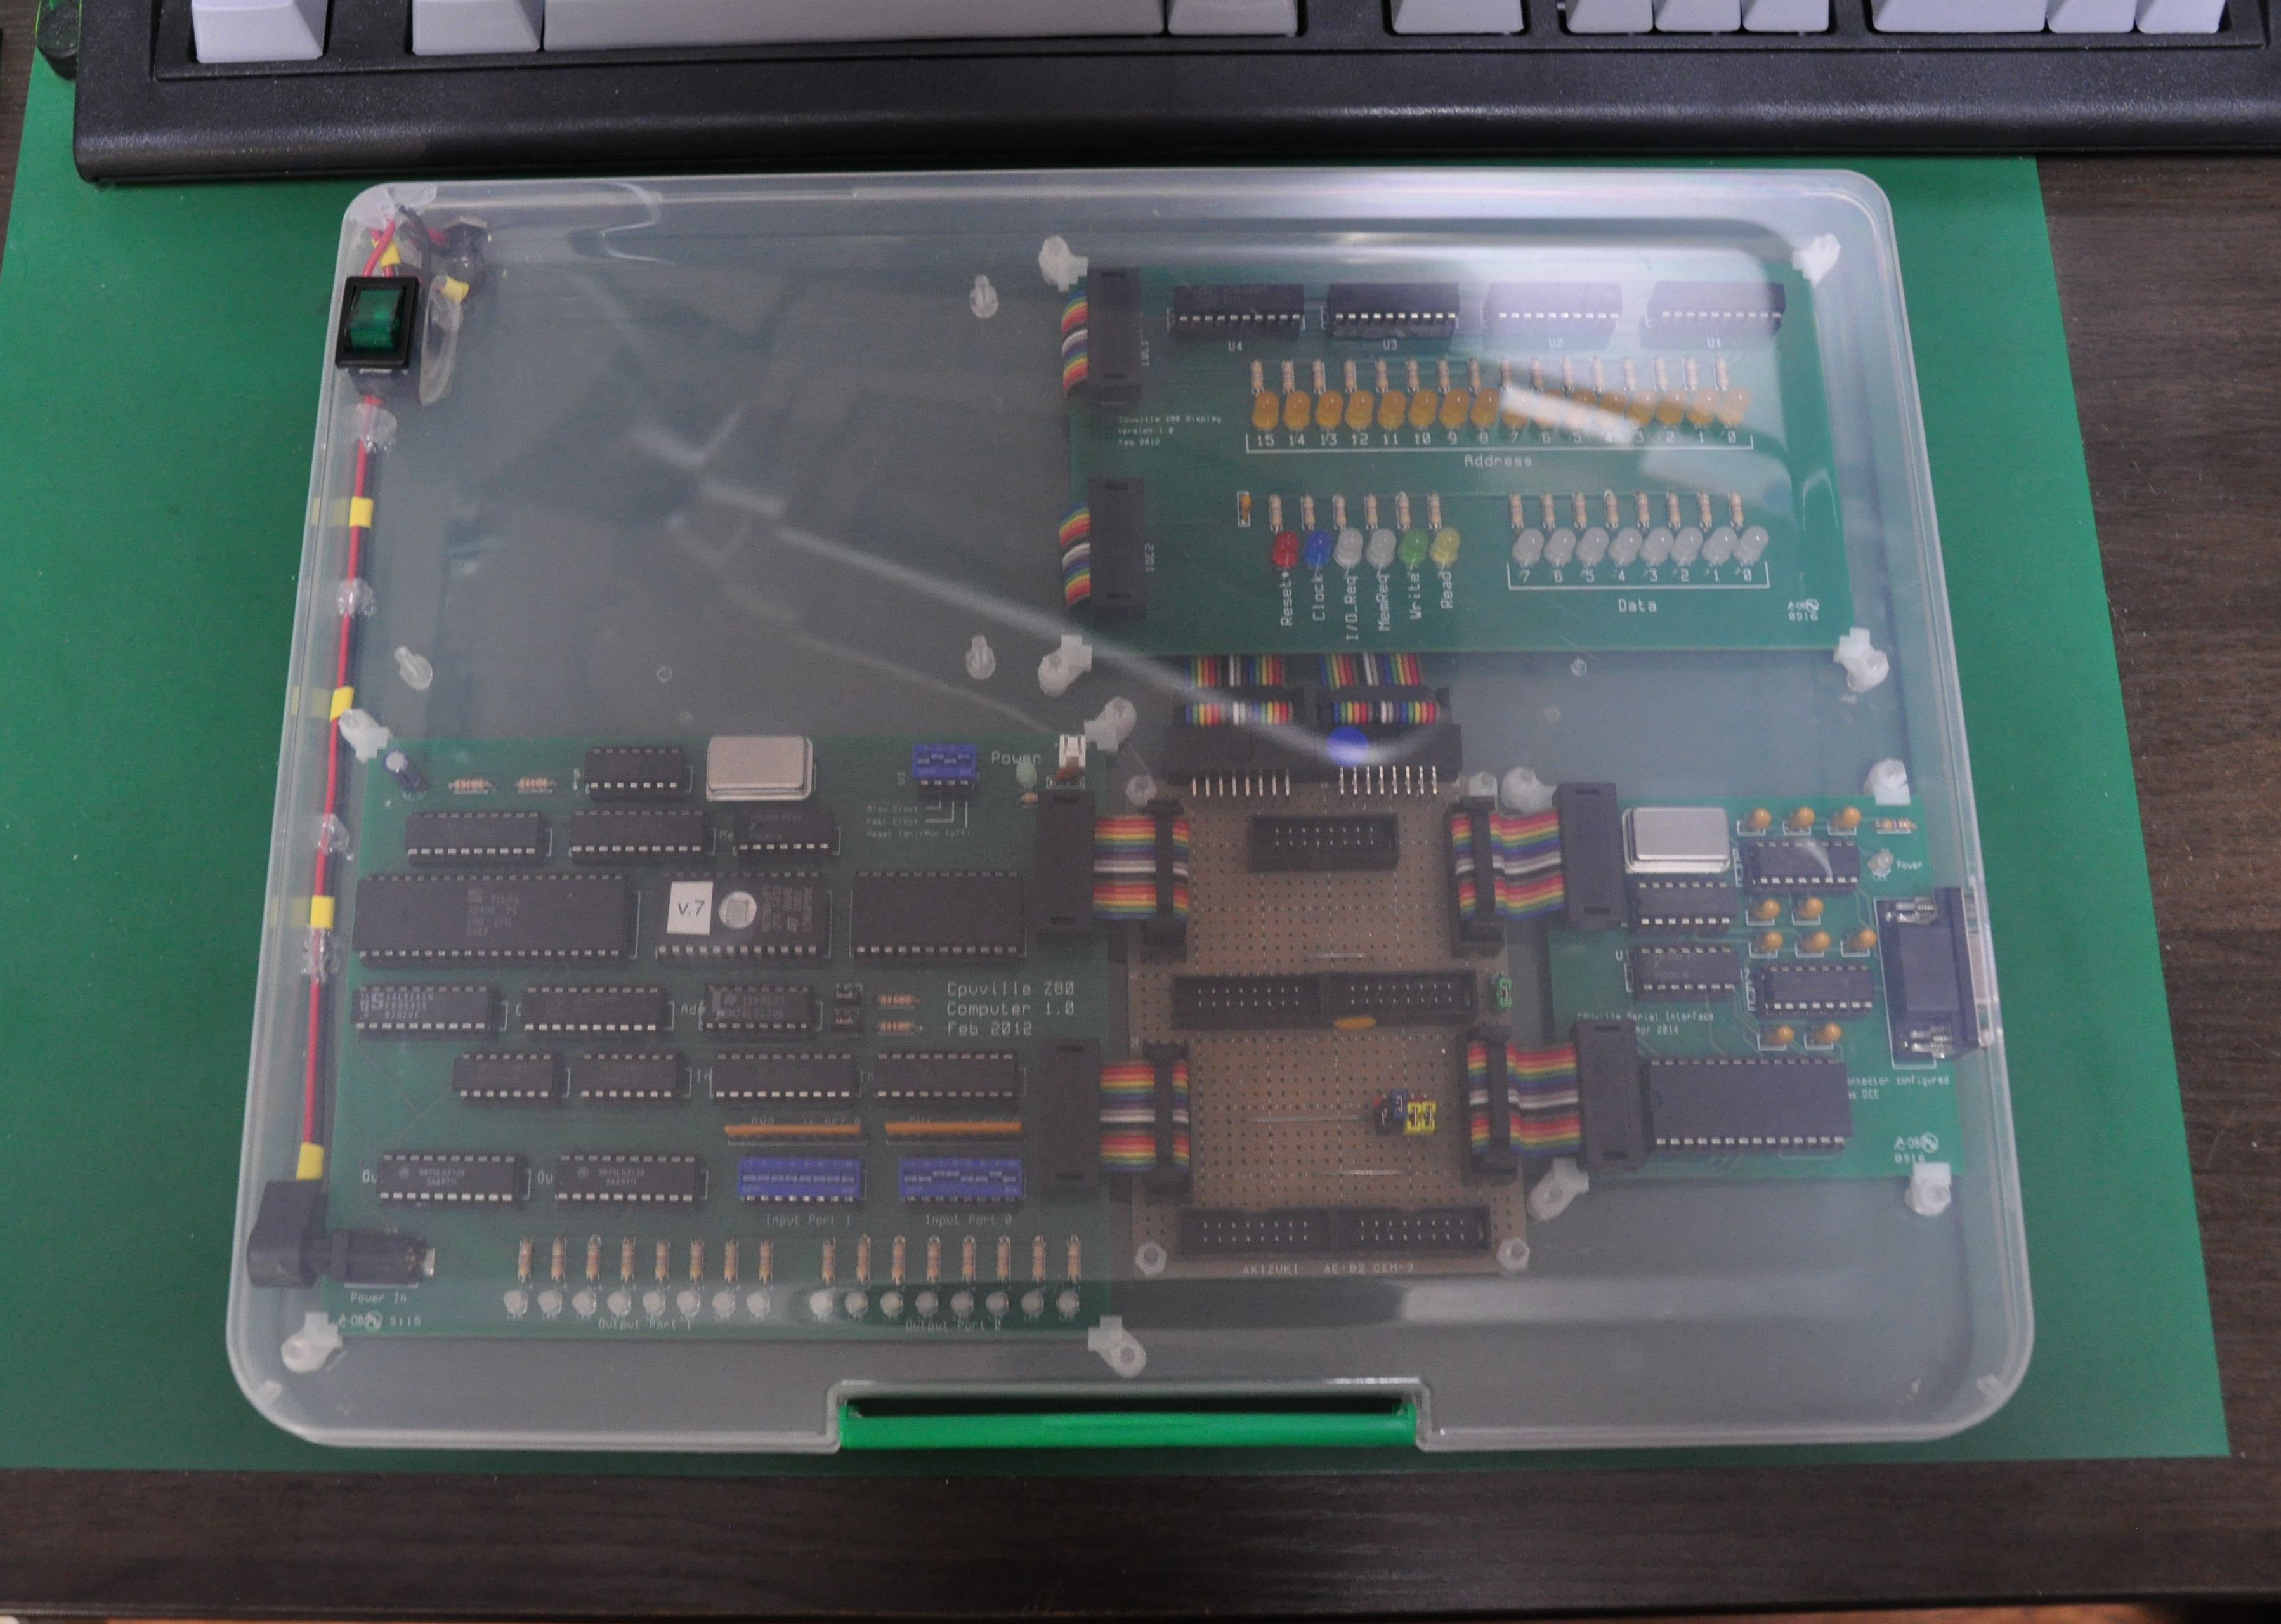
Here I’m finished insalling the hub into the case. Looks awesome isn’t it ?
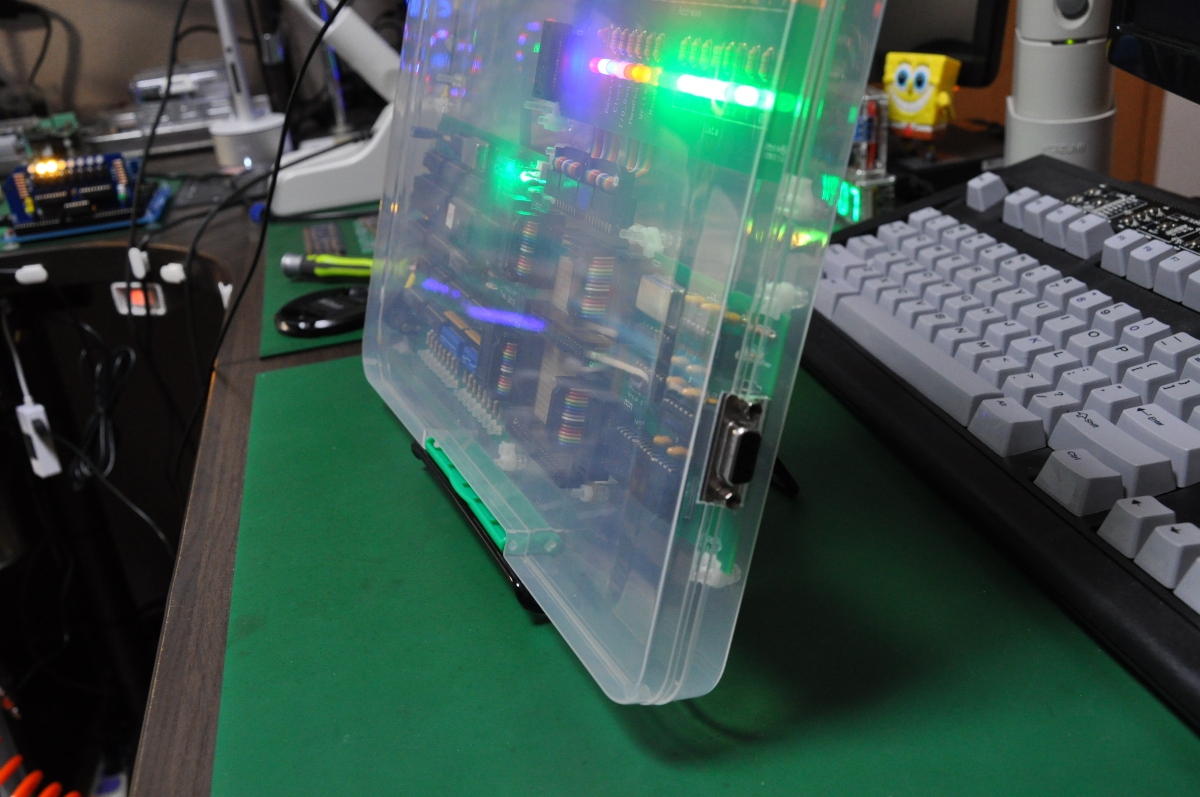
Here is another angle of the case, and when we closed the case.
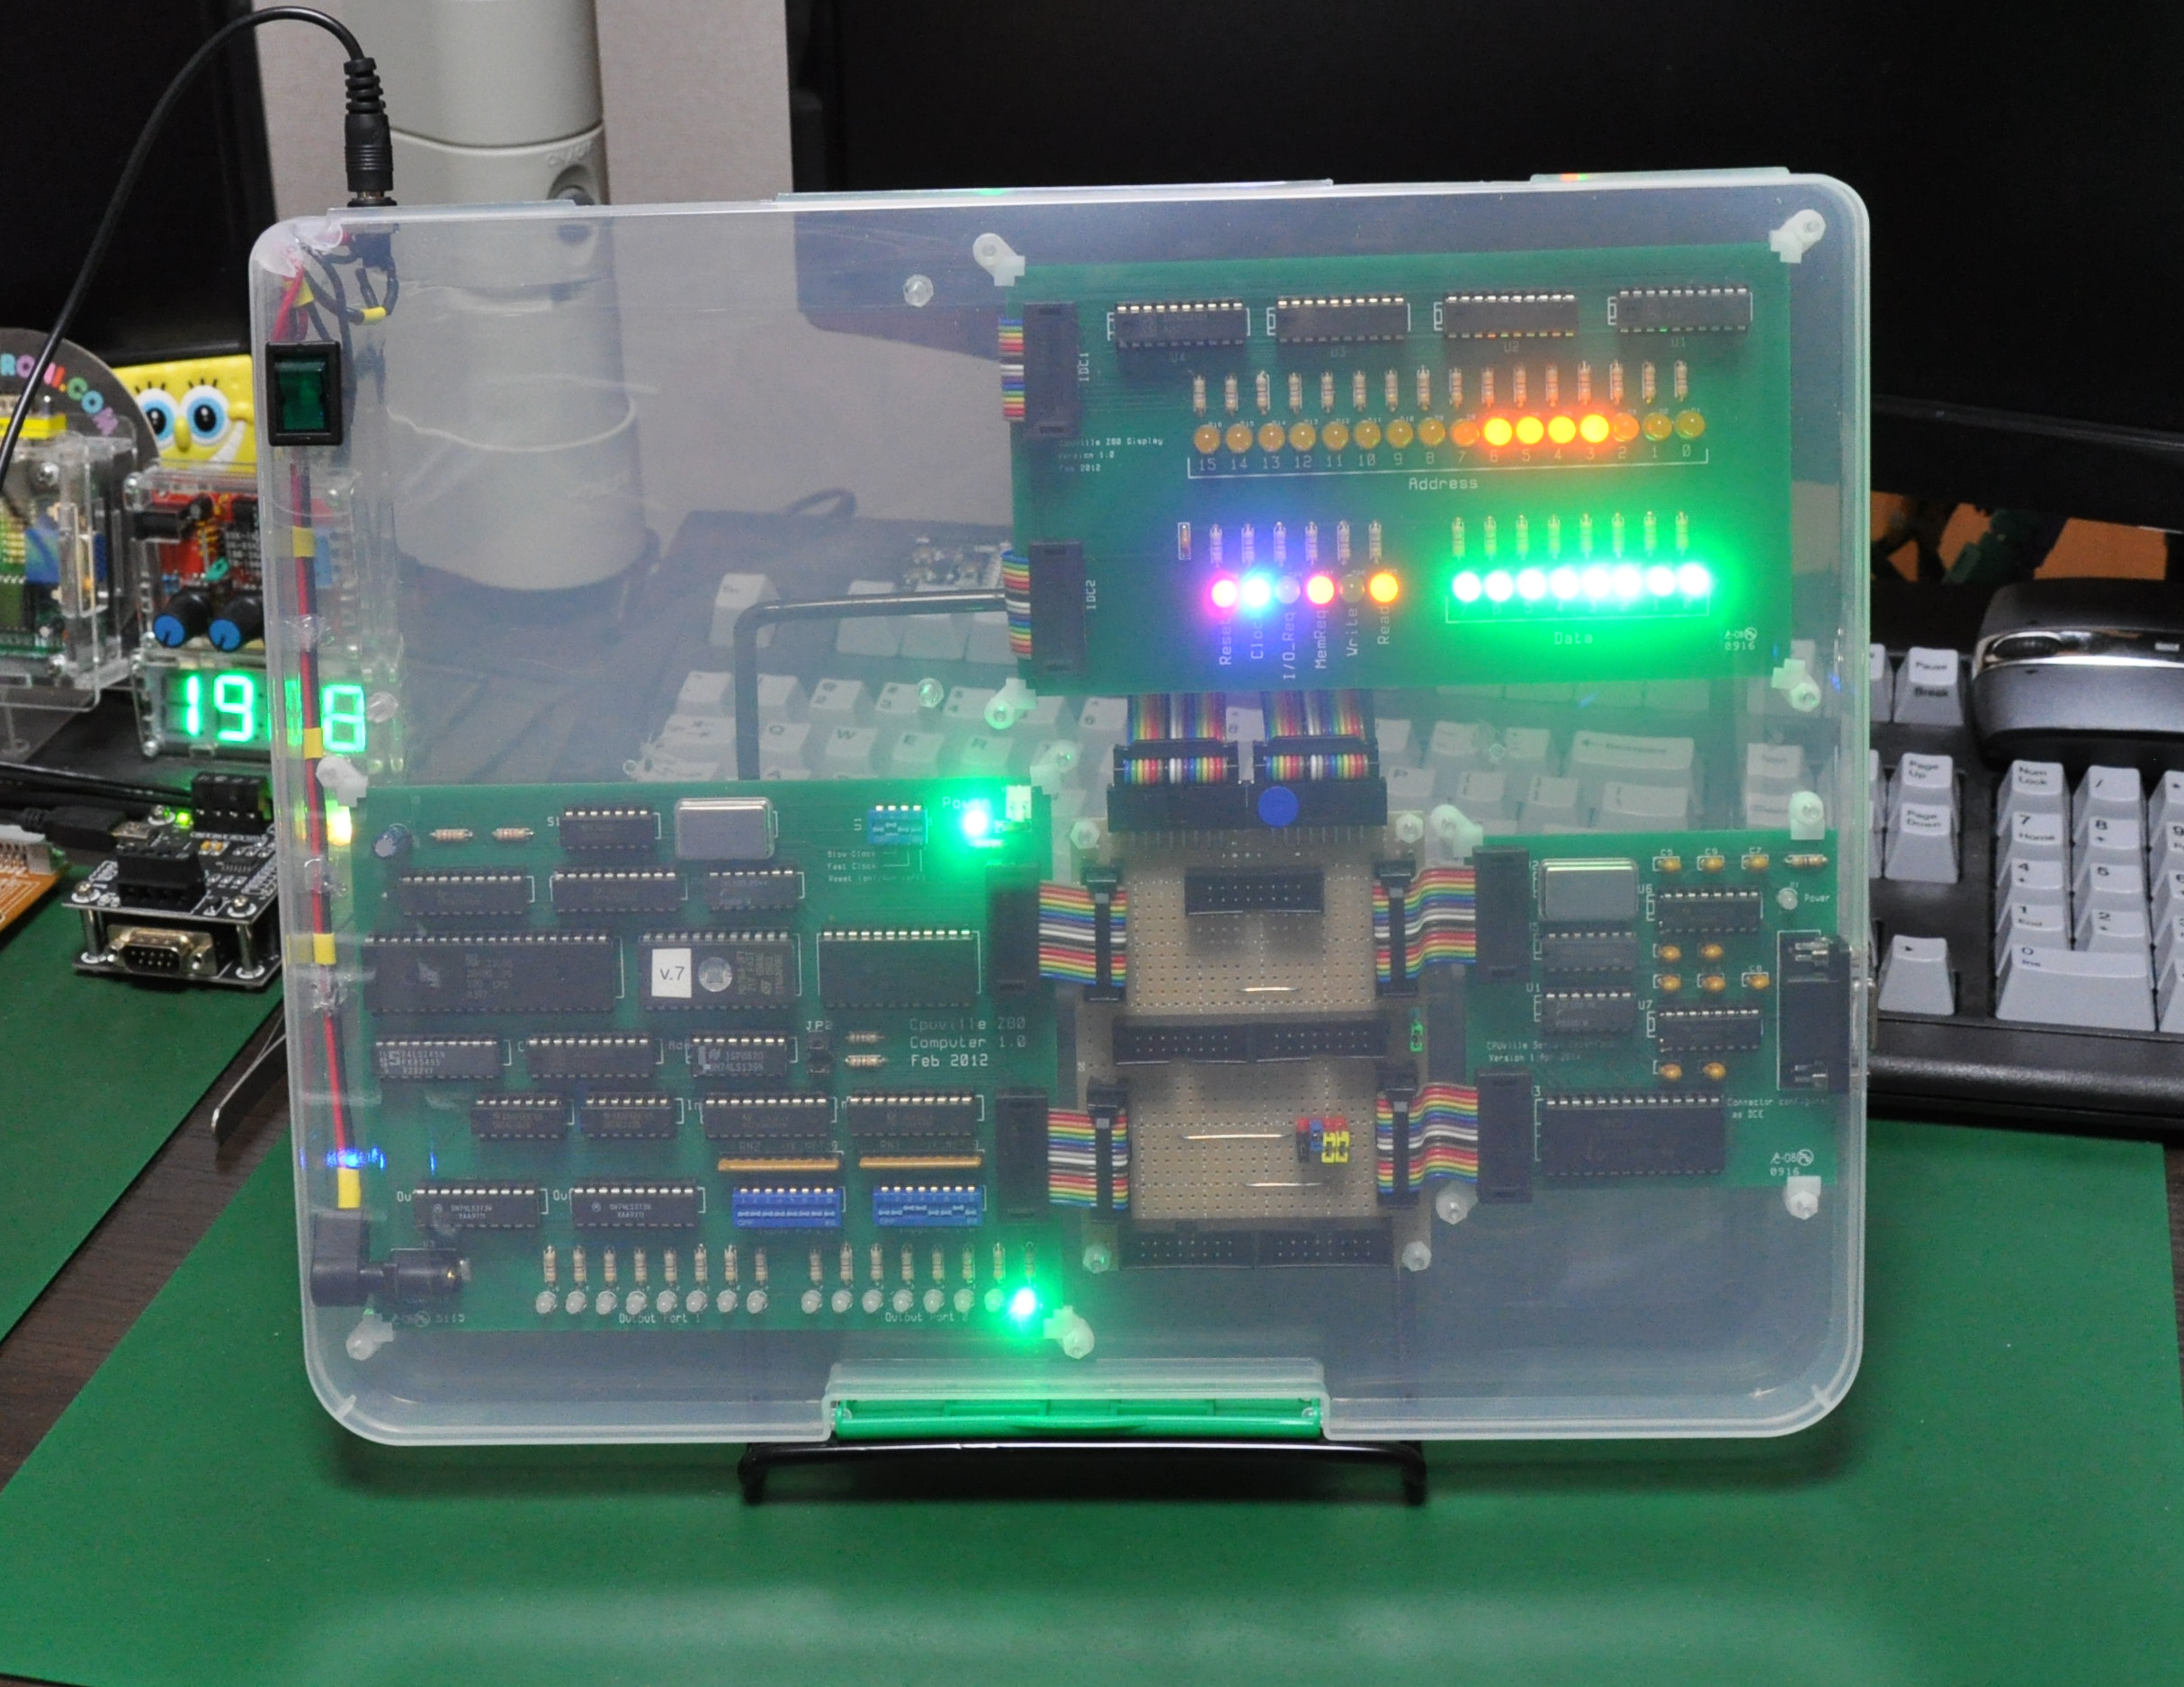
Here is the demo running ‘count to million’ program from the ROM. I’m happy with the result.
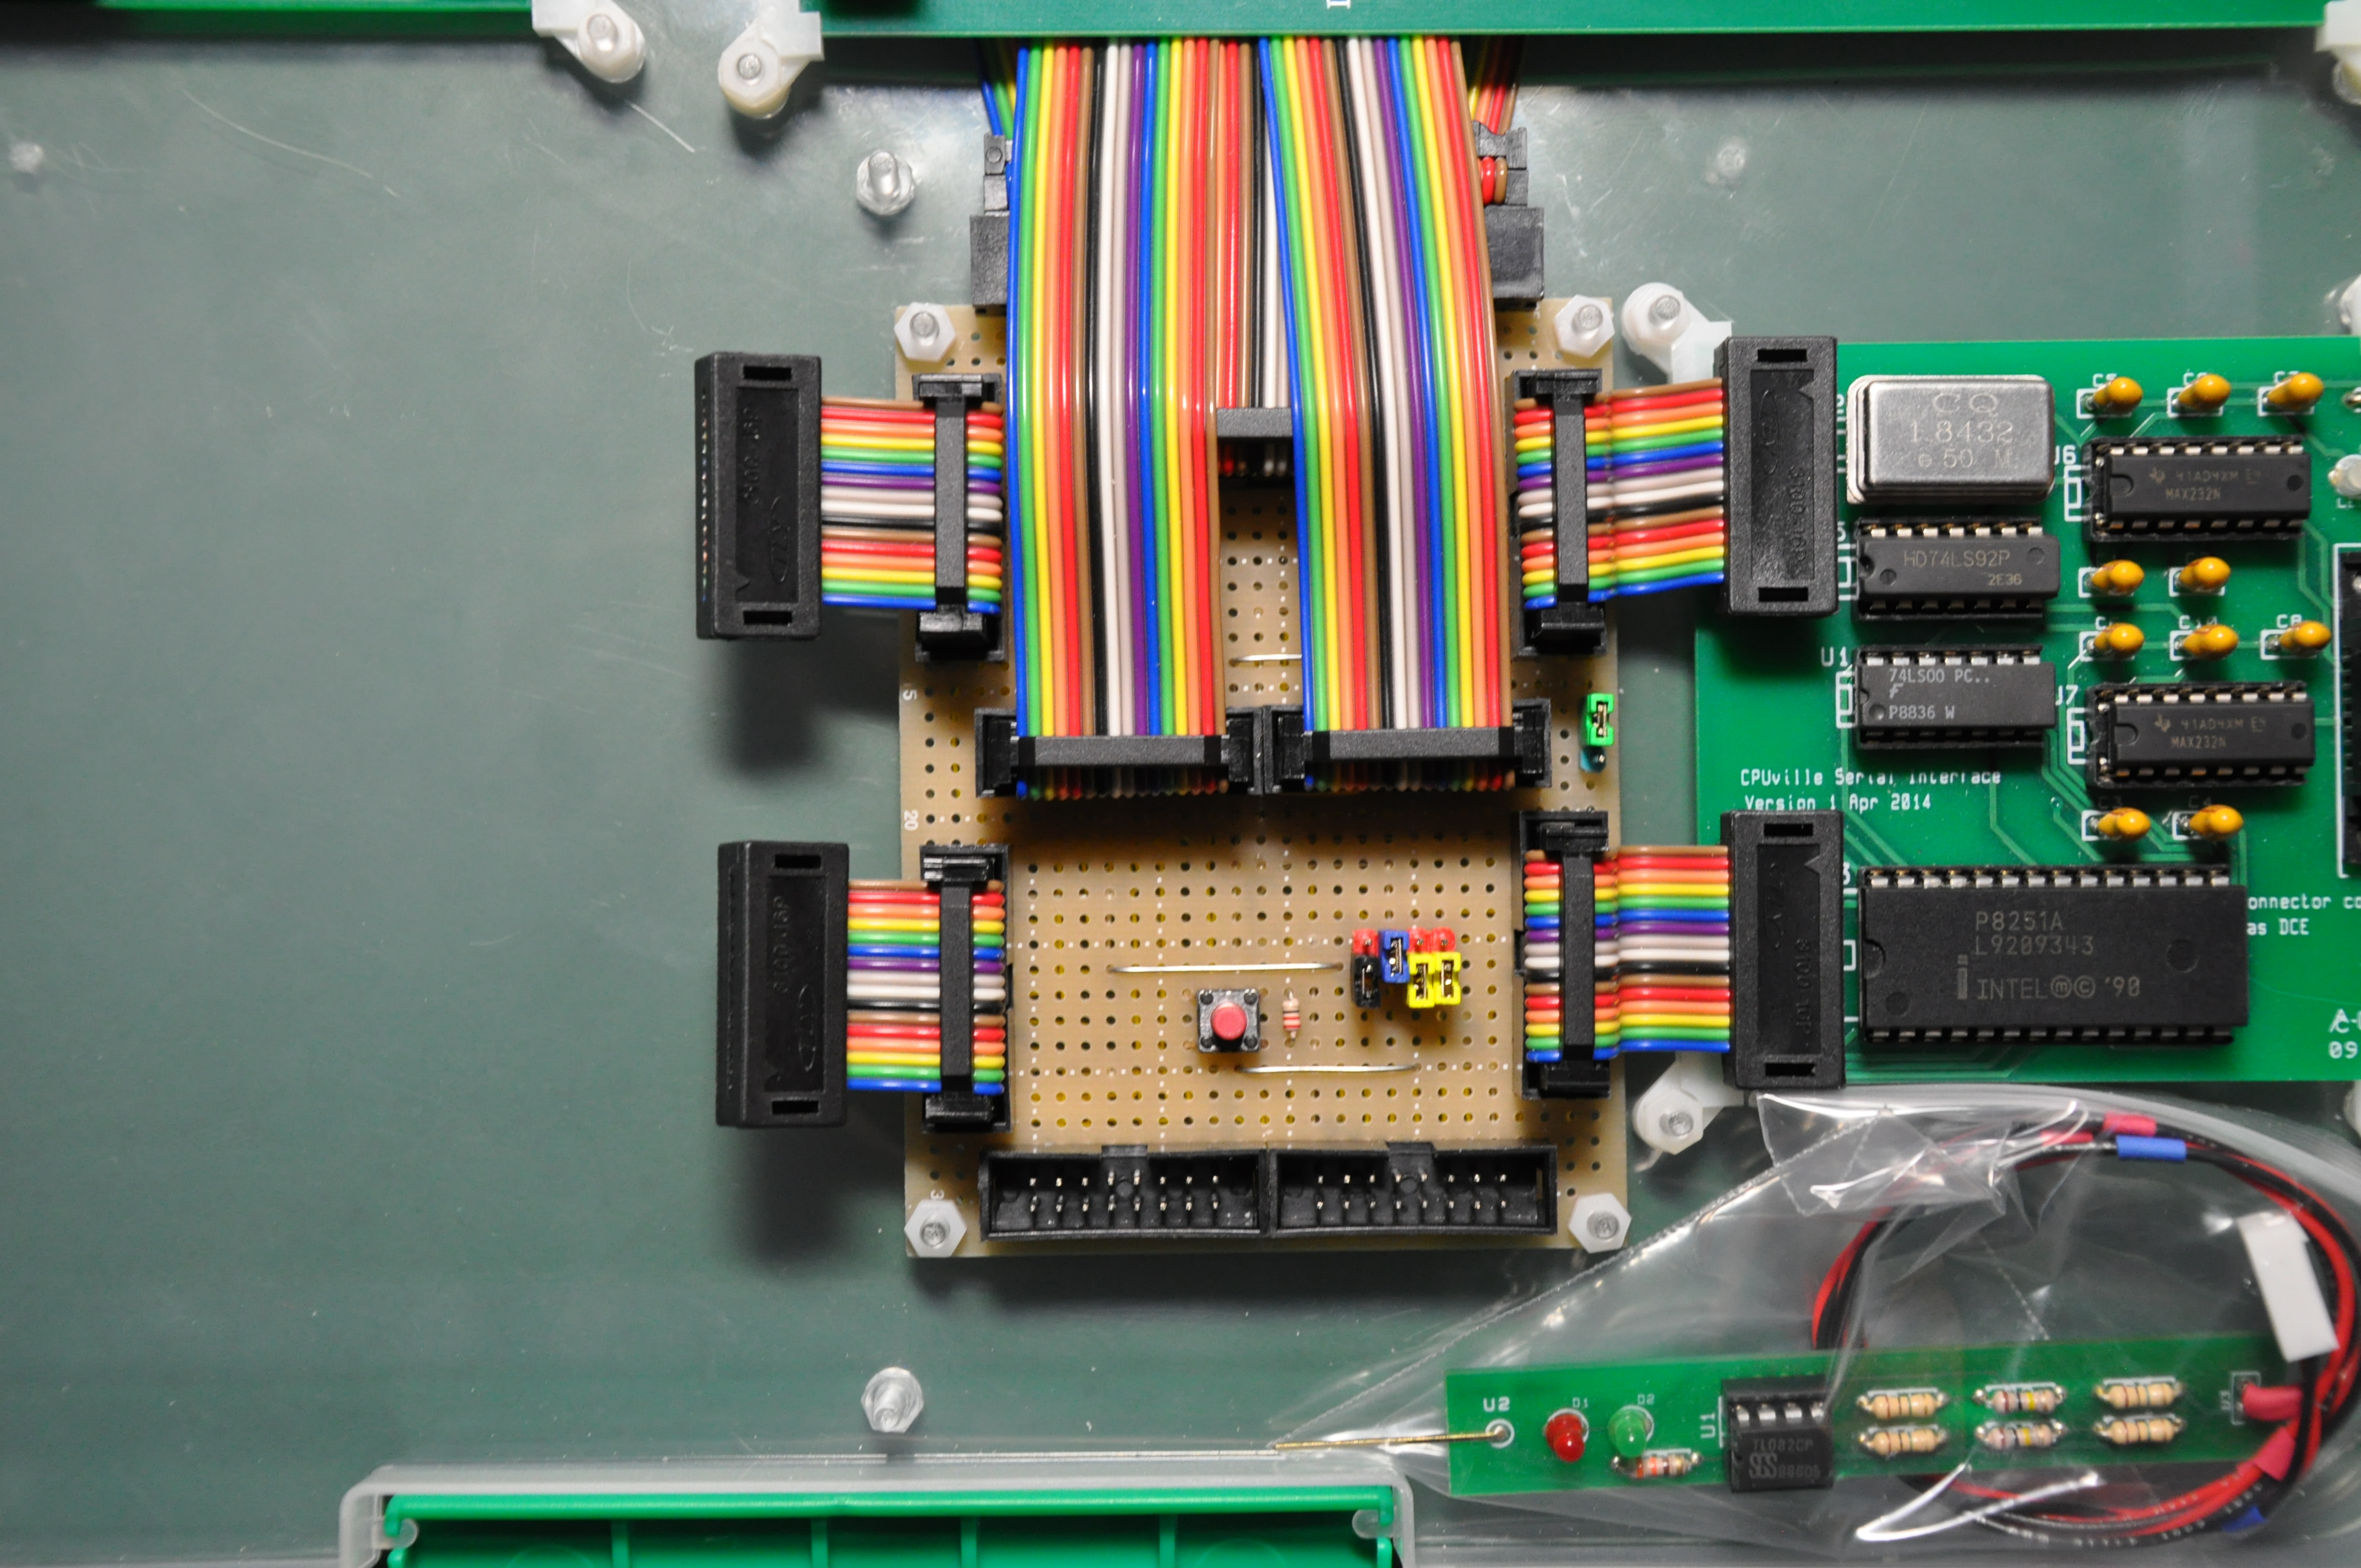
After a while, I really think that I need the reset button so I have implemented the reset function on the bus hub. As we can see on the picture below, I have added the red tactile push button switch for reset.
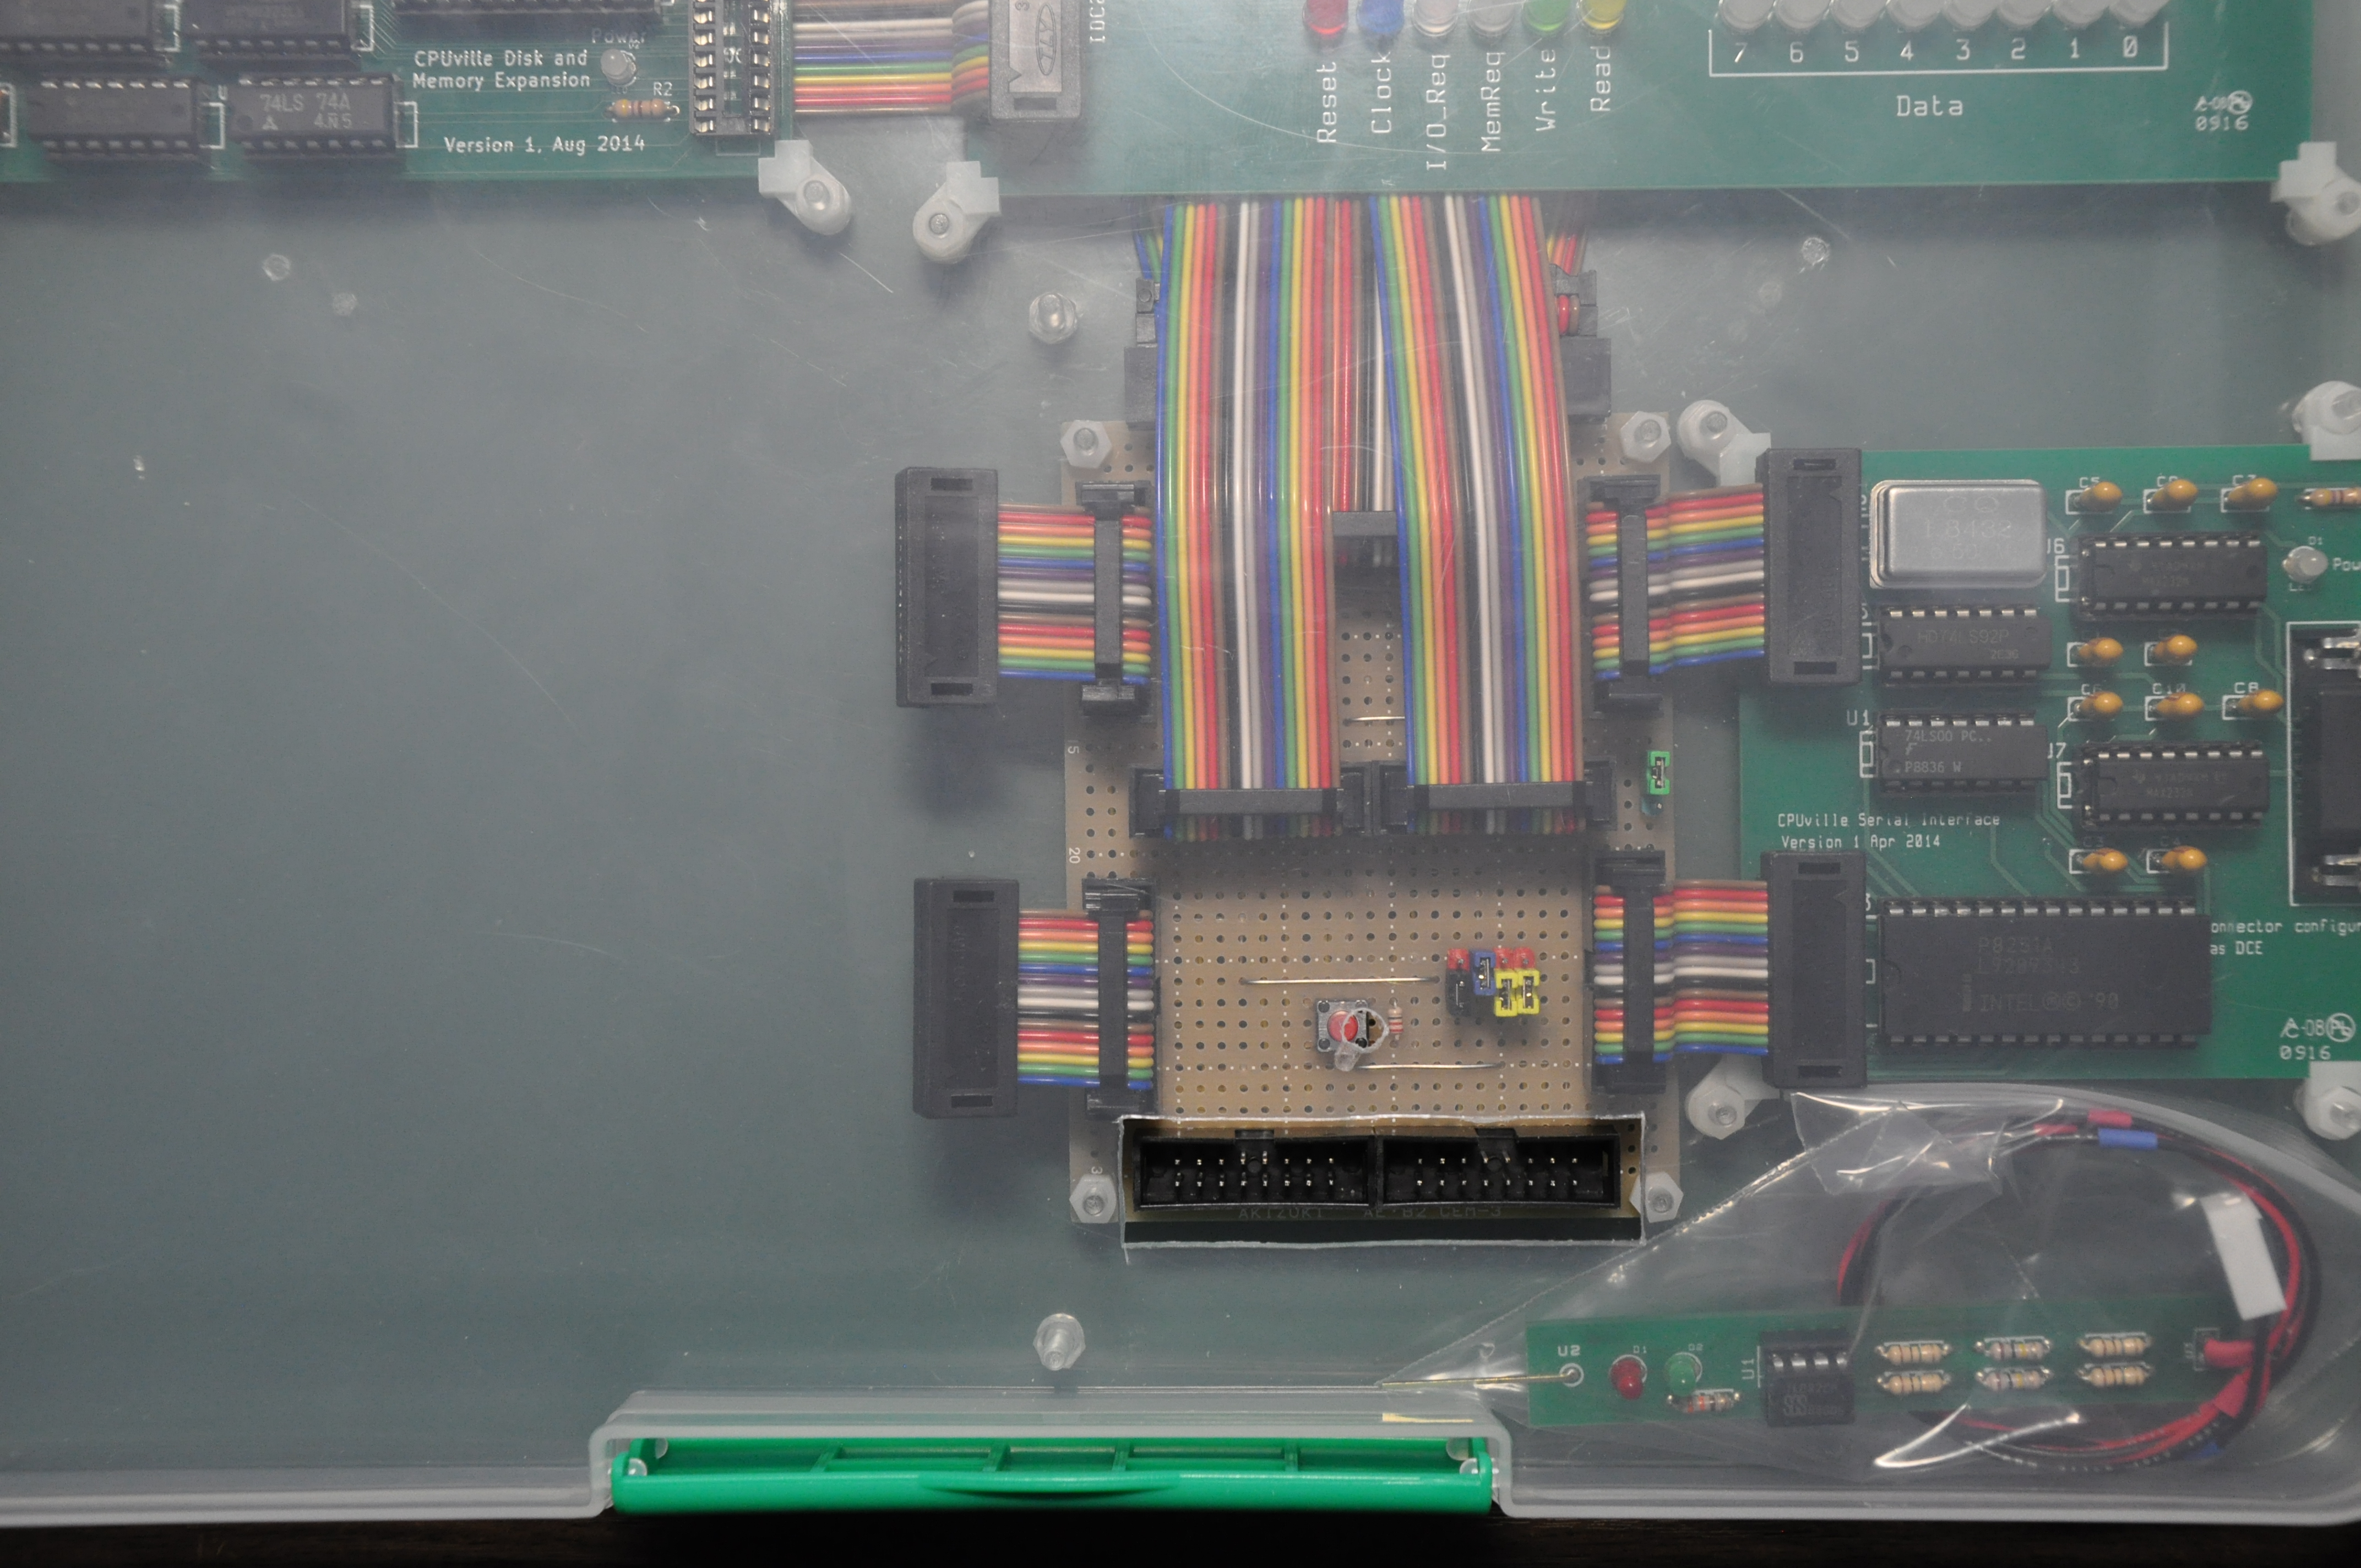
I also added a hole for pushing the reset button when the case is closed, and another cut for accessing the bus connector from outside the case. We can make custom module and connect to this bus connector from outside the case.
I’m considering of making an adapter to make RC2014 module compatible with this connector, just one of my future projects.
