Introduction
I want to make a log of assembling the transistor testing kit that I bought from Banggood a few weeks ago. This is a cheap and simple kit with nice acrylic case included. I think this kit will be useful for testing transistor or other components when I’m doing a project in the future.
Unboxing
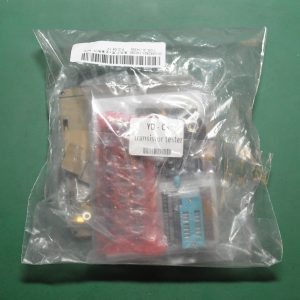
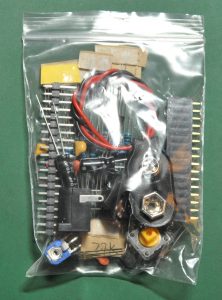
Here is the package that I received.
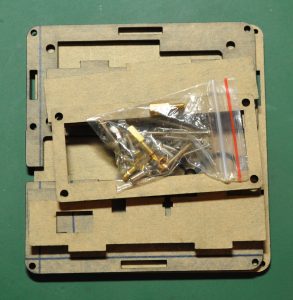
A usual, electronic kits that came from China look like this. Sometimes the leg of the components, ex ICs bended and I have to make it straight again. Well, not well packed for an electronic kits but it is cheap ! Just got to fix something for the price, I think.
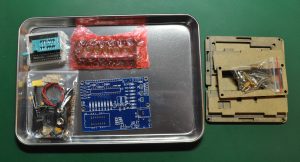
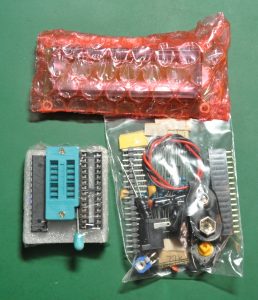
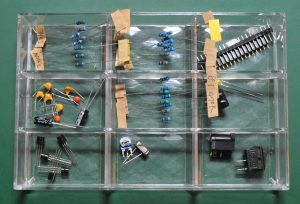
Above is what we get in the package. Let’s separate the components for soldering.
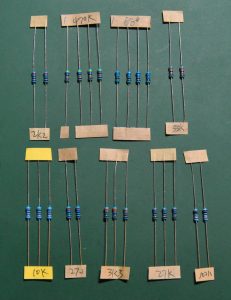
One good thing is the creator of this kit has labled the resistor value so it is easy to solder. But beware that sometime kits from China has defect value, so everytime I will check resistor value with multimeter before proceed to solder. This kit has many resistor and they are labeled but I will double check the value to avoid error.
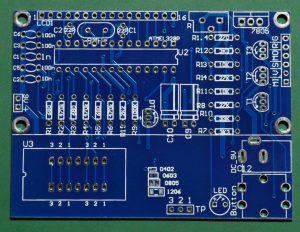
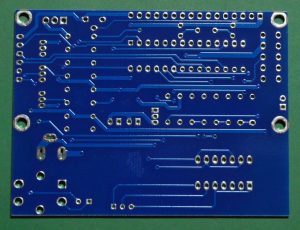
The pcb also looks very nice. The components, especially resistors are aligned beautifully.
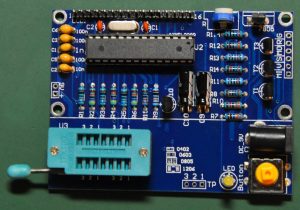
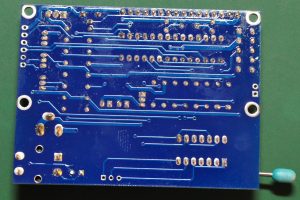
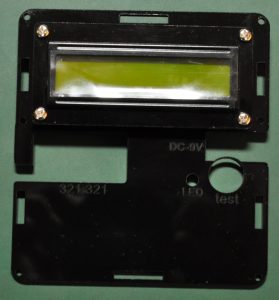
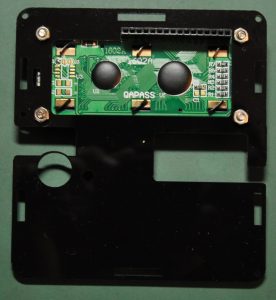
Above is the finished board. All components have been soldered and the flux is also have been cleaned. The MPU is also inserted into the socket and ready to go for the first run ! Now it is the time to assemble the case, first with the LCD part. At first, it is difficult to figure how to build the case, so I try to give some clue on the next pictures.
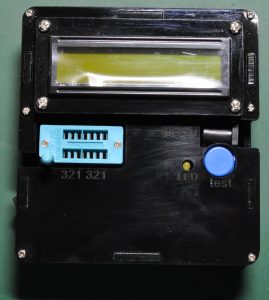
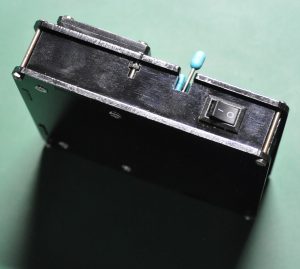
I have assemble and remove it back some times to find the correct order. Other part of the assembly is very straight forward and easy to assemble. Above is the finished pictures.
It look nice with the case. So lets go and do some tests.
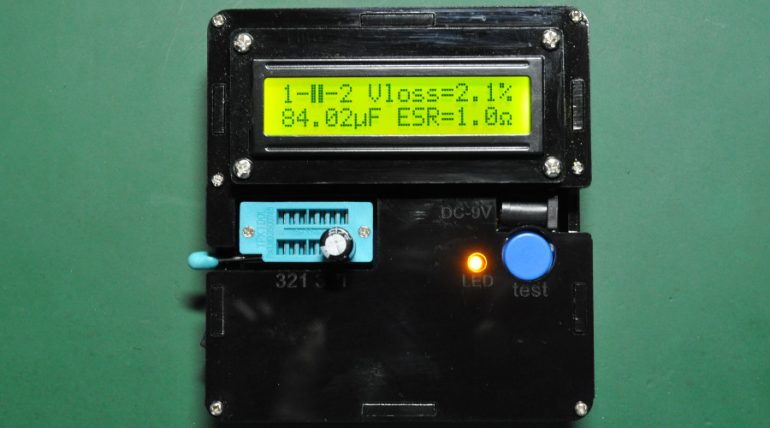
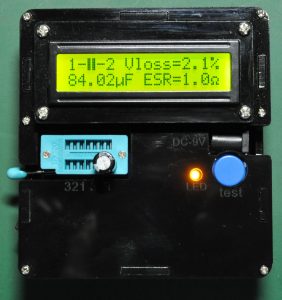
The above picture show the result of the test. I have inserted an 100uF electrolytic capacitor to the zif socket. This tester shows that it is 84.02uF, about 15% loss of the value.
Conclusion, this tester is very nice, and I will use it in my future project to test resistors, capacitors, diode and other components.


